
I have always been intimidated by baking. Especially bread. I have watched River Cottage in awe so many times determined to get over my fears and take it on with gusto! That never quite happened.
But, in my many random Pinterest travels I came across this amazing recipe! I read through the instructions about 15 times before I decided to jump in. That's me. Research, memorise, then go. Well, most of the time. Otherwise, known as procrastination.
But I did it! My first loaf was ok. Second loaf was better. By the 5th, aced it. Lucky I like bread! Lucky that even though Jacob doesn't like bread, he loves this! And the boys love it as well - especially with cottage cheese or covered in hummus.
So, my version of it after a few tries goes a little something like this...
- 2 cups plain flour
- 1 cup whole wheat flour
- 1 3/4 tsp salt
- 1/2 tsp active dry yeast
- 1/4 cup lukewarm water
- 1 1/4 cups additional water
In the 1/4 cup of lukewarm water, sprinkle in the yeast and let it stand while you get the rest of the ingredients together.
In a big mixing bowl, whisk together the flours and the salt. With a handy dandy rubber spatula, slowly add in the yeasty water. Then slowly add the rest of the water. It will be a messy looking hunk of dough, but that's fine.

Cover the bowl with plastic wrap and leave overnight on the kitchen bench, at least 12-18 hours. Of course depending on the temperature of your kitchen overnight, it might be best to bring it to bed with you. It's an attractive move - coming to bed with a bowl of dough. Actually, just leave it on the night stand or a dresser. Trust me.
In the morning, the bread should have risen to at least double.
Pop a enamel cast iron oven friendly covered pot into the oven and crank it to 230 C (450F). I use one of our Le Creuset pots, but apparently you can use a variety of things. Just think Dutch Oven. (No, not THAT kind of Dutch Oven...) Check out the FAQ's for more info on the Simply So Good blog on the pots you should be able to use.
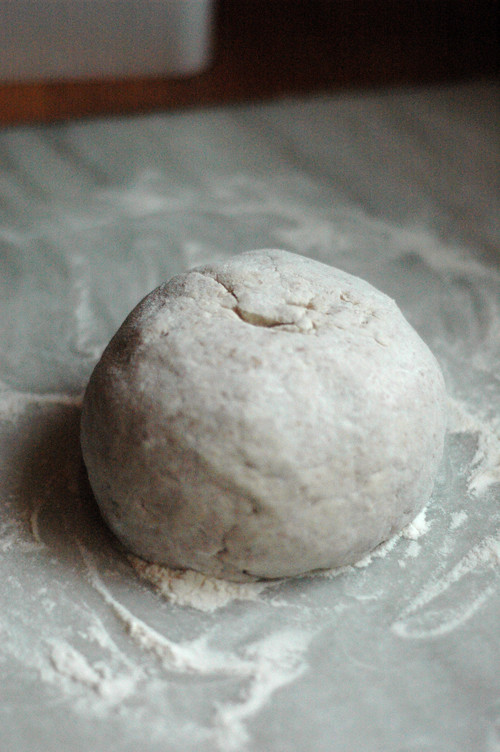
As it's heating, I pop the dough out onto a floured surface. It will be stick as, but it usually stays together nicely. So, with very floury hands, shape the dough into a good looking ball and put the plastic wrap back over it.
Once the pot is hot, take it out of the oven, CAREFULLY and with good oven mitts! I finally burned my index finger just on Friday for the first time, and it hurts like a you-know-what! Pop the dough into the pot, put the cover back on and back in the oven it goes.
This is when I have all of my not-so-reliable kitchen timers set to 30 minutes.
After 30 minutes, take the lid off (CAREFULLY) and cook for another 15 minutes.
And that's it!!

The hardest part is waiting for it to cool down. Seriously!
I've had it as sandwich bread, toast, french toast, with olive oil and balsamic. It's really lovely. And of course, the boys love it!

Enjoy!!
xx
No comments :
Post a Comment